Do you know we don’t need to print every document to sign it? Today, we would like to show you how to scan or sign documents with the signature using the Notes Apps. Apple’s document scanner enables us to take a photo of an important document and easily convert it to PDF.

Find out the instructions below and scan documents using a serviceable document scanner.
How to scan with the Notes App on iPhone?
1. In the first step, open the Notes App on your device and tap on the compose icon in the right corner of the screen.
2. Then, select the Camera button.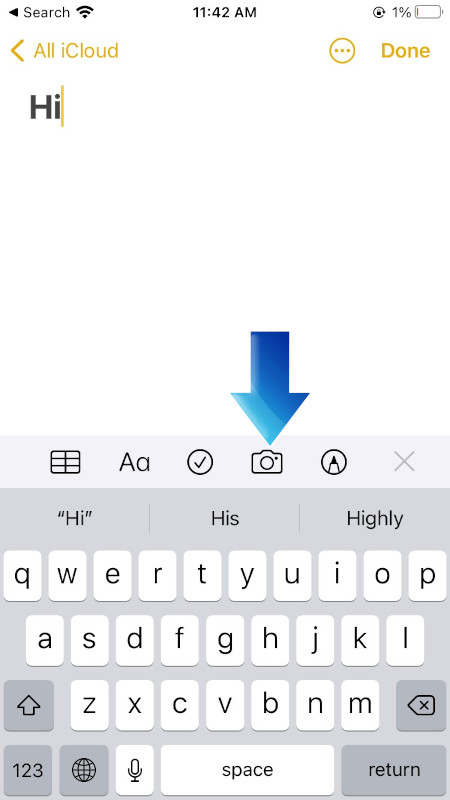
3. Choose the Scan Documents option.
5. Next, take a photo of the document.
6. Adjust the correct size of the document by dragging corners.
7. To proceed, choose Keep Scan button.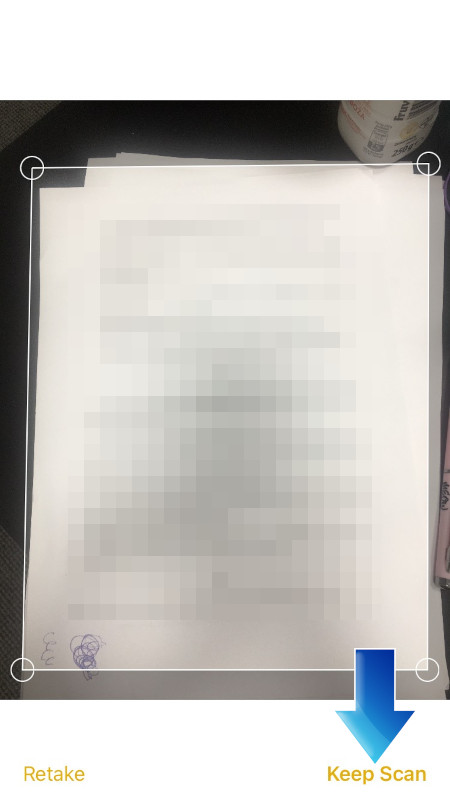
8. Lastly, press on the Save button or Add button to add other scans. 
How to sign documents with Notes App on iPhone?
- First of all, open the document on Notes App and choose Share Icon in the right corner of the screen.

- Scroll down the list and open Markup Option.

- Then, choose Plus Icon.

- To continue, select Signature Option.

- Next, tap on saved signature or add new. Customize the size, and drag it to the right place.

- In the last step, tap on Done button. Your digital signature is ready!
